Help pages
Example: First Hebrew exercise
Example: Second Hebrew exercise
Example: Third Hebrew exercise
Example: Second Greek exercise
Folder management
Example: Create a simple Hebrew exercise
Example: Create an advanced Hebrew exercise
Example: Create a simple Greek exercise
Andrews University Final Exam: Hebrew I (OTST551)
Andrews University Final Exam: Hebrew II (OTST552)
Andrews University Final Exam: Advanced Hebrew (OTST625)
Andrews University Hebrew Placement Exam
Hebrew Proficiency Exam for OTST Exegesis classes
Andrews University Final Exam: Intermediate Greek (NTST552)
Andrews University Greek Placement Exam
Folder Management
Exercises are stored in a hierarchy of folders similar to the folder hierarchy found on most computers. Users with facilitator privileges can manipulate the folders. A folder can contain exercises and other folders. Although it is possible to store exercises in the top level of the folder hierarchy, this is not recommended.
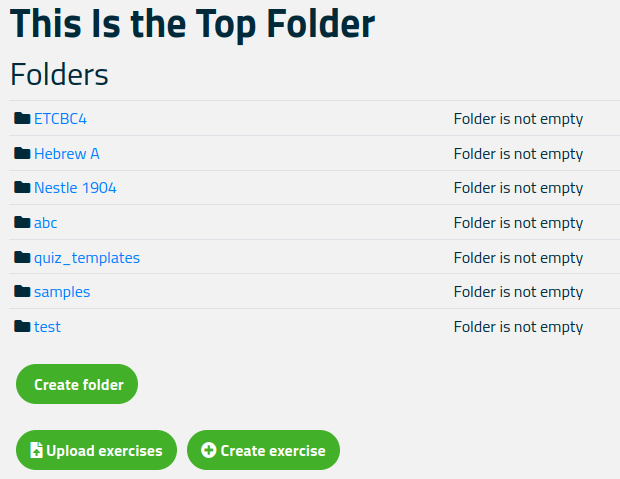
If you select the menu Administration > Manage exercises you will be taken to the top level of the folder hierarchy. Here you will see a list of folders and, perhaps, some exercises (although exercises should really not be stored at the top level):
Creating a Folder
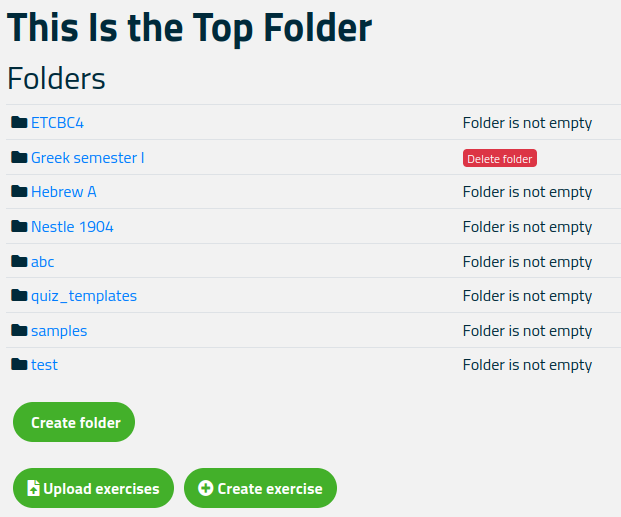
To create a new folder, press the button labelled “Create folder” below the folder list. You will be prompted for a name, whereafter the folder will be created. If, for example, you give the folder the name “Greek semester I”, you will see this:
Deleting a Folder
Only empty folders can be deleted. To do so, press the red button labelled “Delete folder” next to the name of the folder you want to delete.
Viewing the Contents of a folder
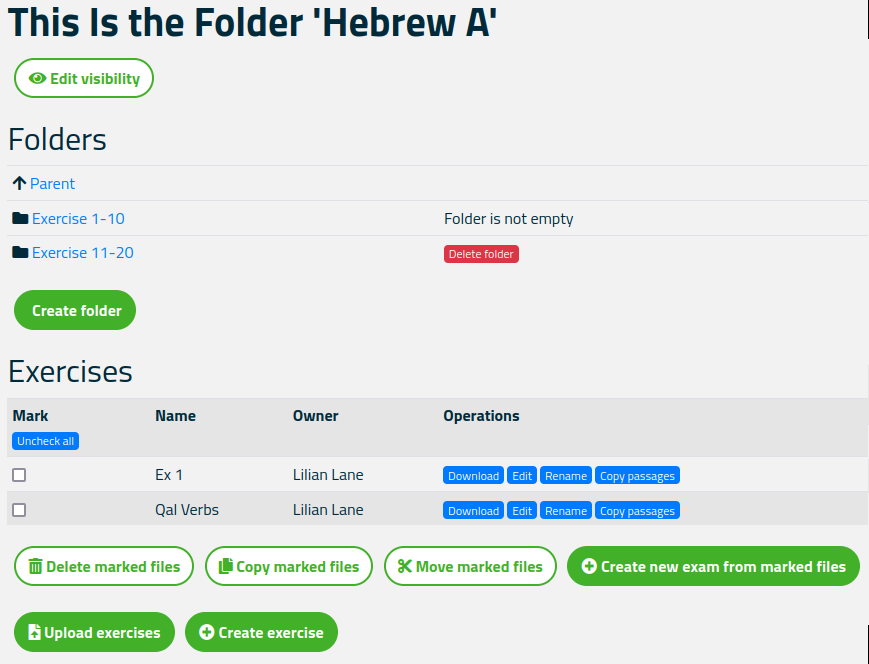
To view the contents of a folder, click on its name. You may see something like this:
In this example, the folder contains two subfolders, “Exercise 1-10” and “Exercise 11-20”. Below the folders there are two exercises, “Ex 1” and “Qal Verbs”.
Folder Visibility
Each folder has a specific visibility. This means that only users enrolled in certain classes can see the contents of the folder. When you create a new folder, nobody is allowed to see the contents of that folder, so you must specify whom you will allow access to the folder contensts.
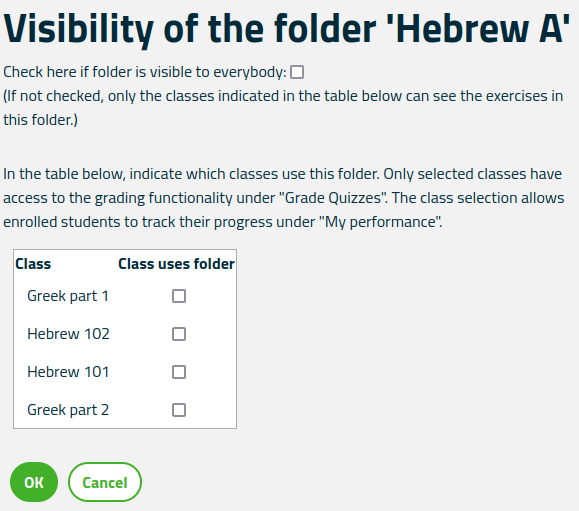
To specify the visibility of a folder, click “Edit visibility” at the top of the page. You will see something like this:
If you check the box next to the text “Check here if folder is visible to everybody”, all users can see the contents of the folder. Alternatively, you can check specific classes in the list of classes. Only users enrolled in those classes can see the contents.
The class list serves a double purpose. As specified in the previous paragraph, you can limit visibility of a folder to only a specific set of classes. Furthermore, only selected classes have access to the grading functionality. The class selection allows enrolled users to track their progress under My data > My performance. Note that this means that even if you make the folder visible to everybody, you may still need to specify certain classes in the class list.
Operations On Exercises
You can perform a number of operations on these exercises using the blue buttons next to the exercise:
- Download downloads the exercise to your computer. The exercise is an XML file with a file extension of “.3et”. You can use the downloaded exercise to upload to another folder or to another server.
- Edit allows you to edit the exercise as described in the section “Exercise management“.
- Rename allows you to change the name of the exercise.
- Copy passages reads the list of passages used for the exercise. After pressing this key, a new button labelled “Insert passages into marked files” will appear at the bottom. If you check one or more exercises and press that button, the passage list will be stored in the marked files.
To delete one or more files, place a check mark next to the file(s) you want to delete and press “Delete marked files”.
To move or copy one or more files to another folder, place a check mark next to the file(s) you want to copy or move and press either “Copy marked files” or “Move marked files”. You can then move to the destination folder and click “Insert copied/moved files”.
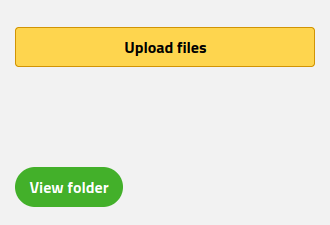
To upload an exercise file from your computer to the Bible OL server, press “Upload exercises”. You will then see this:
You can either press “Upload files” and select exercise files to upload, or you can drag and drop your local files onto the “Upload files” button. Clicking “View folder” takes you back to the folder where your uploaded files have been stored.
Note: Exercise files must be in a special format and have the extension “.3et”. The only way to reliably create such a file is by downloading it from another Bible OL server or folder.
To create a new exercise, click “Create exercise” and proceed as described in section “Exercise management“.
